Welcome to The Stripper Maintenance Video Guide.
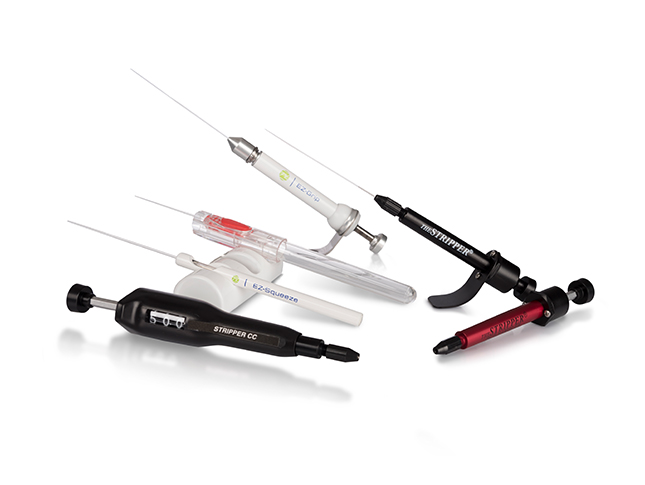
This brief step-by-step guide will show you how to easily replace the replacement parts of The Stripper pipettor and how to assemble the The Stripper Comfort Grip. The Stripper plunger and replacement kit will allow you to keep The Stripper pipettor in order – replacing all key parts in just a few minutes.
While you may only replace the O-rings or the plunger wire, this brief tutorial will cover replacement of both and additionally show you how to assemble The Stripper Comfort Grip. The Stripper Pipettor, replacement kits and Comfort Grip are made up of different components. We will now show you how to replace the O-rings.
If your tip begins to fill before you release the plunger, then the O-rings may need replacing. Order the O-ring replacement kit as in the table shown here.
First, unscrew the collet by turning it anti-clockwise. Remove the O-rings. It is not uncommon for some or all of the O-rings to get lodged within the collet. They may be removed by inserting the plunger wire into the front end of the collet and pushing them out. The order and directions in which these O-rings are assembled is critically important, so you will want to pay close attention here.
The first O-ring to be placed onto the plunger wire will be the narrower of the two black O-rings. The second ring to be placed onto the plunger wire will be the white spacer ring. It is critically important that the red dot remains visible facing outwards. Finally, place the broad black O-ring with the larger hole onto the plunger wire.
Now you have the O-rings in proper position in orientation. Finally, screw the collet clockwise into place. Next, we will show you how to replace the plunger wire. If the plunger wire is damaged, then the plunger wire may need replacing. The first step in replacing the plunger is to remove the collet and O-rings, as shown previously. Unscrew the housing from the barrel by gripping the barrel and turning the spring housing counter-clockwise until it is free from the barrel.
You will notice that the housing is threaded on the plunger. The spring will become visible within the aluminum barrel once it is removed. Let the spring stay inside the barrel. Where the plunger wire is assembled, you will see the two set screws securing the plunger, one on each side of the set screw collar.
Using the small hexagon allen key from the replacement kit, loosen each set screw one full turn and the plunger can be easily extracted. Remove and discard the worn plunger wire. Set the new plunger wire into the plunger assembly, sliding it all the way down until the bottom of the hole. Carefully retighten the two set screws to secure the plunger wire. Be careful not to overtighten the set screws.
Next, gently set the barrel of The Stripper onto the plunger wire and turn it to a vertical position. Shake the assembly gently as shown. You will be able to feel when the barrel seats itself onto the plunger. Correctly position the plunger wire within the small opening. To re-tighten the barrel, screw the plunger and the housing into the barrel individually, starting with the plunger and leave a centimeter for the housing. Add the O-rings in the correct order and screw the collet clockwise into place. The Stripper pipettor is now re-furbished and ready for use.
We will now show you how to assemble The Stripper Comfort Grip onto The Stripper micropipetter. Please note that the screwdriver is not provided in the plunger replacement kit. The Comfort Grip can be assembled on both The Stripper and The Stripper-PGD.
The plunger needs to be compressed while unscrewing the housing. Unscrew the cap screws while the plunger is compressed. You will notice that the housing is now divided. Remove the cap screws. Slip the Comfort Grip onto the barrel with the handle facing upwards towards the collet. Add the screws into the holes of the Comfort Grip and the upper part of the housing.
While the plunger is compressed, align the screws with the holes in the lower housing part and tighten the screws. To order The Stripper replacement kits and Comfort Grip, contact your CooperSurgical representative.


